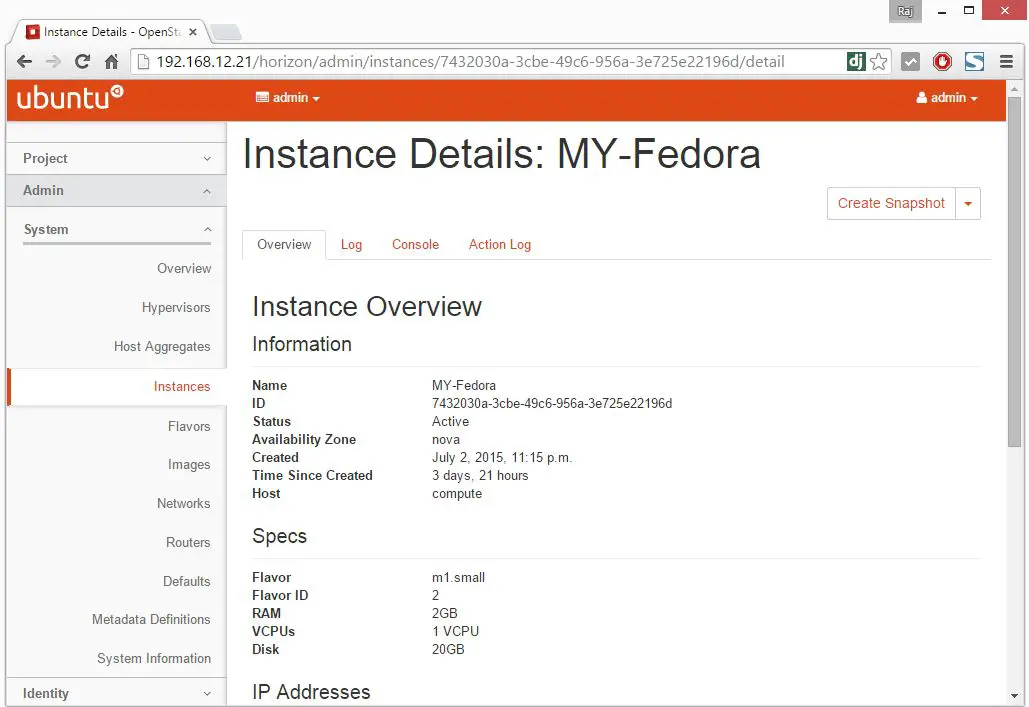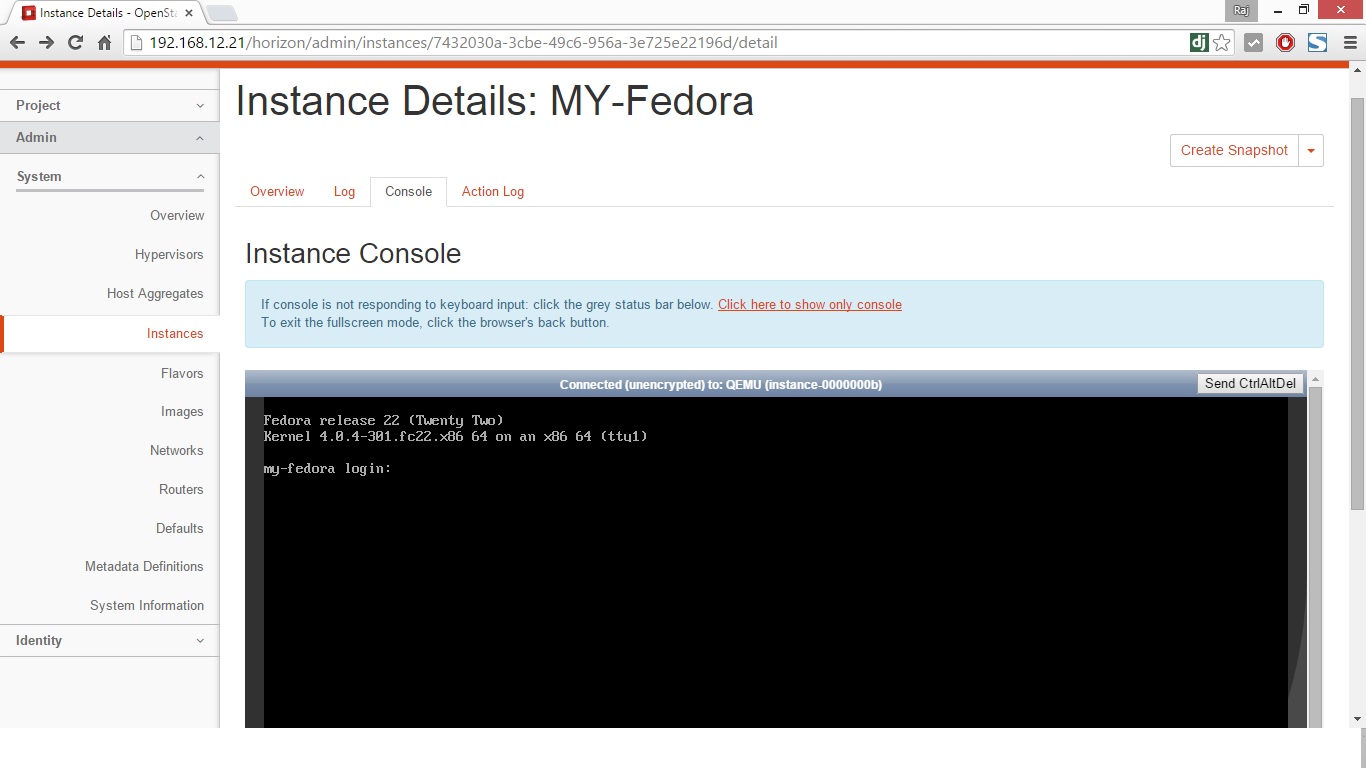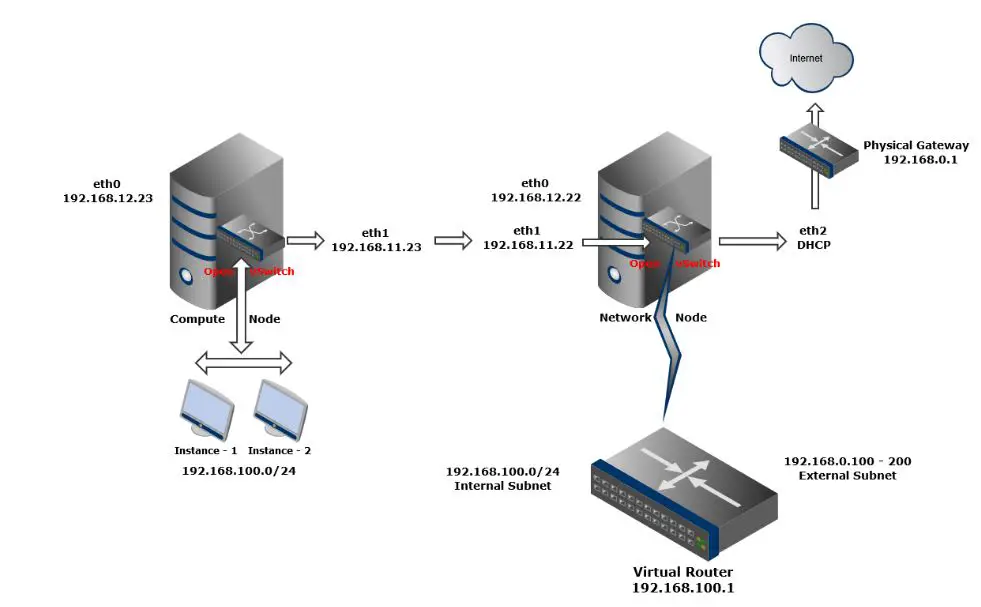
This guide helps you to configure Nova (Compute) service on OpenStak environment, in OpenStack, compute service (node) is used to host and manage cloud computing systems. OpenStack compute is a major part in IaaS, it interacts with KeyStone for authentication, image service for disk and images, and dashboard for the user and administrative interface.
OpenStack Compute can scale horizontally on standard hardware, and download images to launch computing instance.
Install and configure controller node:
We will configure the Compute service on the Controller node, login into the MySQL server as the root user.
# mysql -u root -p
Create the nova database.
CREATE DATABASE nova;
Grant a proper permission to the nova database.
GRANT ALL PRIVILEGES ON nova.* TO 'nova'@'localhost' IDENTIFIED BY 'password';
GRANT ALL PRIVILEGES ON nova.* TO 'nova'@'%' IDENTIFIED BY 'password';
Replace “password” with a suitable password. Exit from MySQL.
Load your admin credential from the environment script.
# source admin-openrc.sh
Create the nova user for creating service credentials.
# openstack user create --password-prompt nova
User Password:
Repeat User Password:
+----------+----------------------------------+
| Field | Value |
+----------+----------------------------------+
| email | None |
| enabled | True |
| id | 58677ccc7412413587d138f686574867 |
| name | nova |
| username | nova |
+----------+----------------------------------+
Add the admin role to the nova user.
# openstack role add --project service --user nova admin
+-------+----------------------------------+
| Field | Value |
+-------+----------------------------------+
| id | 33af4f957aa34cc79451c23bf014af6f |
| name | admin |
+-------+----------------------------------+
Create the nova service entity.
# openstack service create --name nova --description "OpenStack Compute" compute
+-------------+----------------------------------+
| Field | Value |
+-------------+----------------------------------+
| description | OpenStack Compute |
| enabled | True |
| id | 40bc66cafb164b18965528c0f4f5ab83 |
| name | nova |
| type | compute |
+-------------+----------------------------------+
Create the nova service API endpoint.
# openstack endpoint create \
--publicurl http://controller:8774/v2/%\(tenant_id\)s \
--internalurl http://controller:8774/v2/%\(tenant_id\)s \
--adminurl http://controller:8774/v2/%\(tenant_id\)s \
--region RegionOne \
compute
+--------------+-----------------------------------------+
| Field | Value |
+--------------+-----------------------------------------+
| adminurl | http://controller:8774/v2/%(tenant_id)s |
| id | 3a61334885334ccaa822701ac1091080 |
| internalurl | http://controller:8774/v2/%(tenant_id)s |
| publicurl | http://controller:8774/v2/%(tenant_id)s |
| region | RegionOne |
| service_id | 40bc66cafb164b18965528c0f4f5ab83 |
| service_name | nova |
| service_type | compute |
+--------------+-----------------------------------------+
Install and configure Compute controller components:
Install the packages on Controller Node.
# apt-get install nova-api nova-cert nova-conductor nova-consoleauth nova-novncproxy nova-scheduler python-novaclient
Edit the /etc/nova/nova.conf.
# nano /etc/nova/nova.conf
Modify the below settings and make sure to place a entries in the proper sections.
[DEFAULT]
...
rpc_backend = rabbit
auth_strategy = keystone
my_ip = 192.168.12.21
## Management IP of Controller Node
vncserver_listen = 192.168.12.21
## Management IP of Controller Node
vncserver_proxyclient_address = 192.168.12.21
## Management IP of Controller Node
[database]
connection = mysql://nova:password@controller/nova
## Replace "password" with the password you chose for nova database
[oslo_messaging_rabbit]
rabbit_host = controller
rabbit_userid = openstack
rabbit_password = password
## Replace "password" with the password you chose for the openstack account in RabbitMQ.
[keystone_authtoken]
auth_uri = http://controller:5000
auth_url = http://controller:35357
auth_plugin = password
project_domain_id = default
user_domain_id = default
project_name = service
username = nova
password = password
## Replace "password" with the password you chose for nova user in the identity service
[glance]
host = controller
[oslo_concurrency]
lock_path = /var/lib/nova/tmp
Populate the Compute database.
# su -s /bin/sh -c "nova-manage db sync" nova
Restart the compute services.
# service nova-api restart
# service nova-cert restart
# service nova-consoleauth restart
# service nova-scheduler restart
# service nova-conductor restart
# service nova-novncproxy restart
Remove SQLite database file.
# rm -f /var/lib/nova/nova.sqlite
Install and configure Nova (a compute node):
Here we will install and configure Compute service on a compute node, this service supports multiple hypervisors to deploy instance (VM’s). Our compute node uses the QEMU hypervisor with KVM extension to support hardware accelerated virtualization.
Verify whether your compute supports hardware virtualization.
# egrep -c '(vmx|svm)' /proc/cpuinfo
1
If the command returns with value 1 or more, your compute node supports virtualization.
Make sure you have enabled OpenStack Kilo repository on Compute Node, or follow below steps to enable it.
Install the Ubuntu Cloud archive keyring and repository.
# apt-get install ubuntu-cloud-keyring

# echo "deb http://ubuntu-cloud.archive.canonical.com/ubuntu" "trusty-updates/kilo main" > /etc/apt/sources.list.d/cloudarchive-kilo.list
Upgrade your system.
# apt-get update
Install the following packages on your each and every Compute node.
# apt-get install nova-compute sysfsutils
Edit /etc/nova/nova-compute.conf to enable QEMU.
# nano /etc/nova/nova-compute.conf/
Change virt_type=kvm to qemu in libvirt section.
[libvirt]
...
virt_type = qemu
Edit the /etc/nova/nova.conf.
# nano /etc/nova/nova.conf
Modify the below settings and make sure to place a entries in the proper sections.
[DEFAULT]
...
rpc_backend = rabbit
auth_strategy = keystone
my_ip = 192.168.12.23
## Management IP of Compute Node
vnc_enabled = True
vncserver_listen = 0.0.0.0
vncserver_proxyclient_address = 192.168.12.23
## Management IP of Compute Node
novncproxy_base_url = http://controller:6080/vnc_auto.html

[oslo_messaging_rabbit]
rabbit_host = controller
rabbit_userid = openstack
rabbit_password = password
## Replace "password" with the password you chose for the openstack account in RabbitMQ.

[keystone_authtoken]
auth_uri = http://controller:5000
auth_url = http://controller:35357
auth_plugin = password
project_domain_id = default
user_domain_id = default
project_name = service
username = nova
password = password

## Replace "password" with the password you chose for nova user in the identity service

[glance]
host = controller

[oslo_concurrency]
lock_path = /var/lib/nova/tmp
Restart the compute service.
# service nova-compute restart
Remove SQLite database file.
# rm -f /var/lib/nova/nova.sqlite
Verify operation:
Load admin credentials on Controller Node.
# source admin-openrc.sh
List the compute service components to verify, run the following command on the Controller Node.
# nova service-list
+----+------------------+------------+----------+---------+-------+----------------------------+-----------------+
| Id | Binary           | Host       | Zone     | Status  | State | Updated_at                 | Disabled Reason |
+----+------------------+------------+----------+---------+-------+----------------------------+-----------------+
| 1  | nova-cert        | controller | internal | enabled | up    | 2015-06-29T20:38:48.000000 | -               |
| 2  | nova-conductor   | controller | internal | enabled | up    | 2015-06-29T20:38:46.000000 | -               |
| 3  | nova-consoleauth | controller | internal | enabled | up    | 2015-06-29T20:38:41.000000 | -               |
| 4  | nova-scheduler   | controller | internal | enabled | up    | 2015-06-29T20:38:50.000000 | -               |
| 5  | nova-compute     | compute    | nova     | enabled | up    | 2015-06-29T20:38:49.000000 | -               |
+----+------------------+------------+----------+---------+-------+----------------------------+-----------------+
You should get an output with four service components enabled on the controller node and one service component enabled on the compute node.
List images in the Image service catalog to verify the connectivity with the image service.
# nova image-list
+--------------------------------------+---------------------+--------+--------+
| ID                                   | Name                | Status | Server |
+--------------------------------------+---------------------+--------+--------+
| b19c4522-df31-4331-a2e1-5992abcd4ded | Ubuntu_14.04-x86_64 | ACTIVE |        |
+--------------------------------------+---------------------+--------+--------+
That’s All!!!, you have successfully configure Nova service. Next is to configure OpenStack Networking (Neutron).


